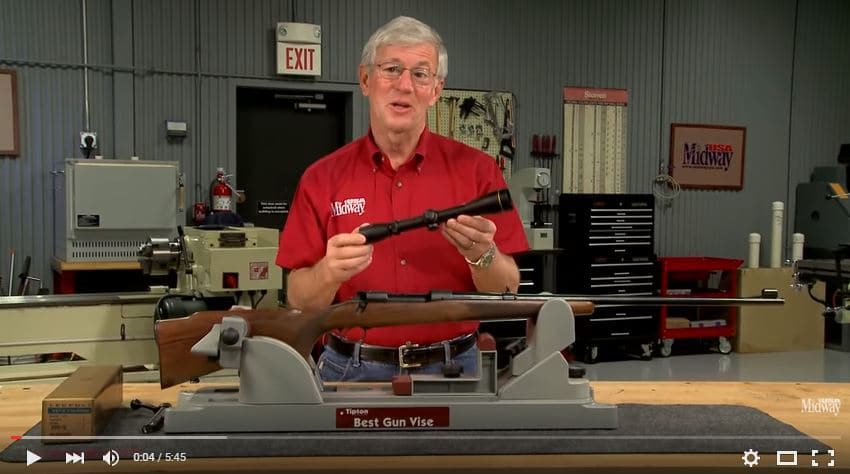
Mounting a scope properly is a vital first step to ensure that you get the most possible accuracy out of your rifle. In this article, we will breakdown a video showing you the proper way to mount a scope.
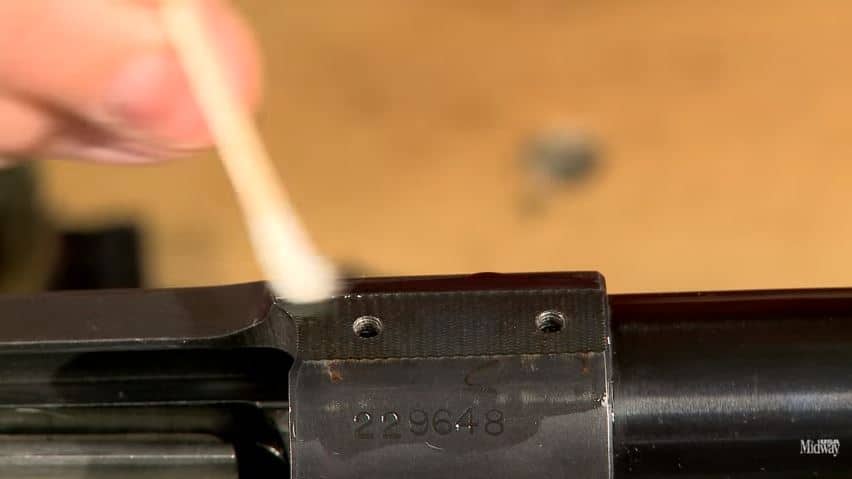
First remove the plug screws from the receiver, then decrease these screw holes and then oil the receiver and the bottom of the bases to help prevent rust from forming between the two.
Put blue locktite on the screws and then screw them into the receiver, snugging them, but do not over tighten them.
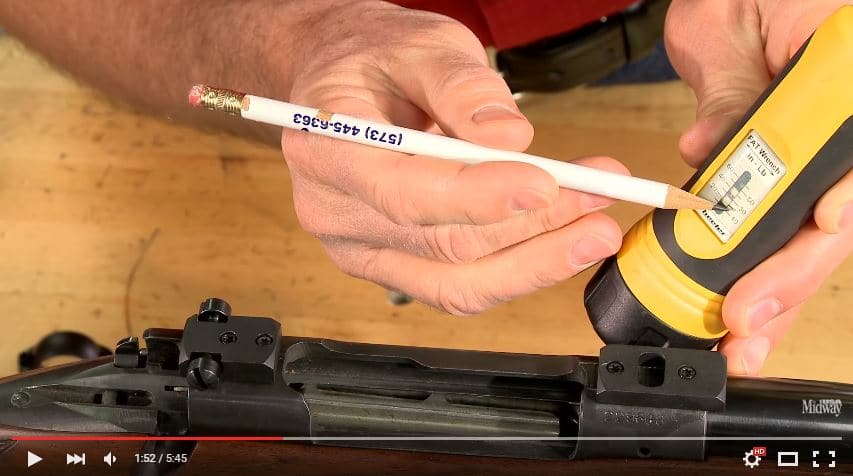
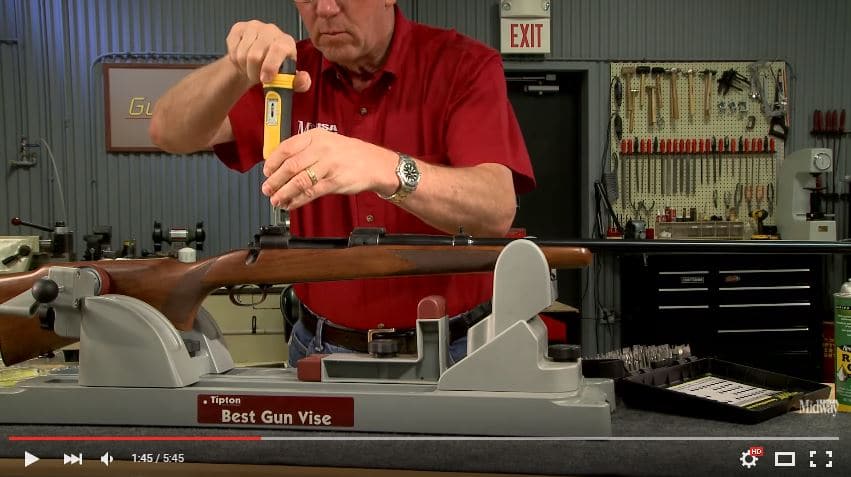
After snugging the screws by hand, torque them to 30 inch/pounds with a torque driver.
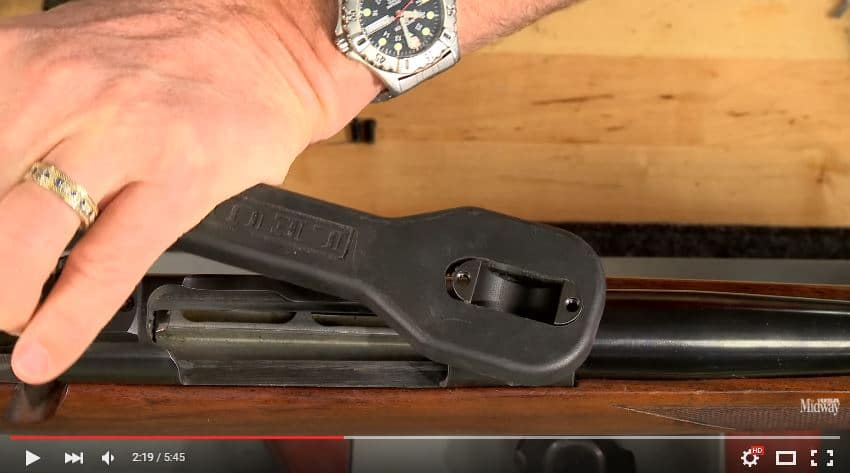
Tighten cam the base into place using a tool for camming the scope ring, or, if lacking that, put the top ring on and use a thick dowel to tighten it into place.
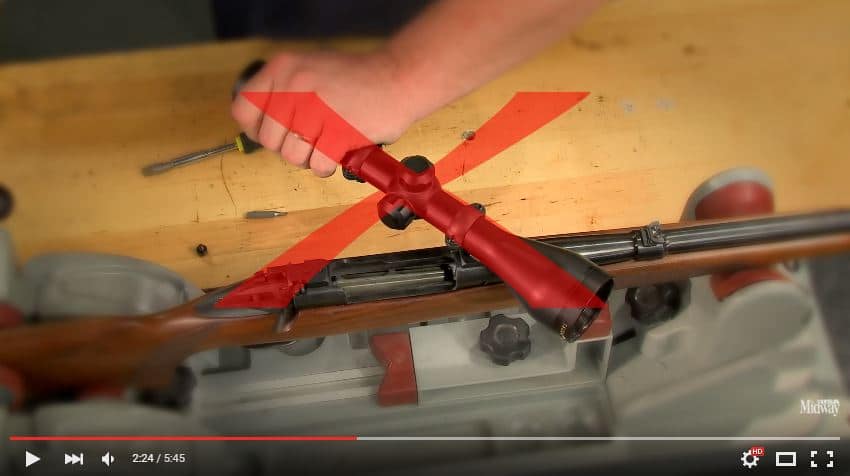
NEVER use your scope as a lever to get the scope ring into place, as this can damage the scope.
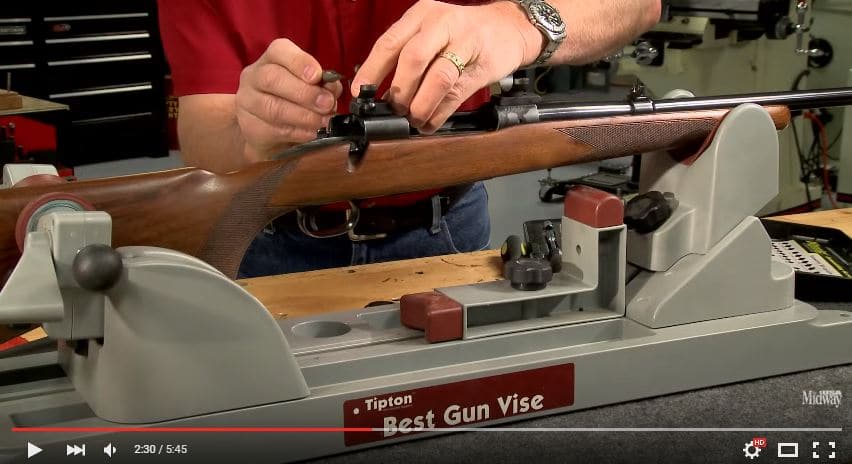
Tighten the rear ring with the two windage screws, tightening them equally to center the ring as well as possible.
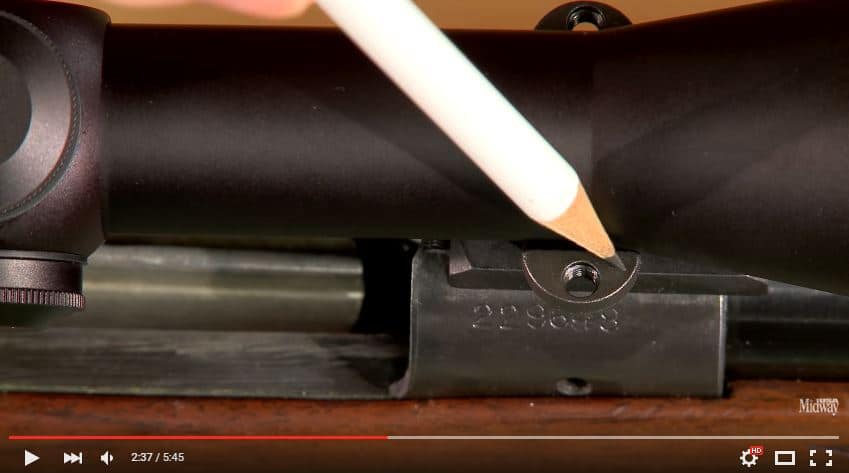
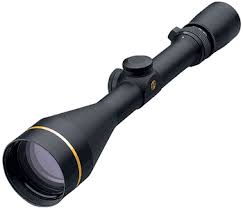
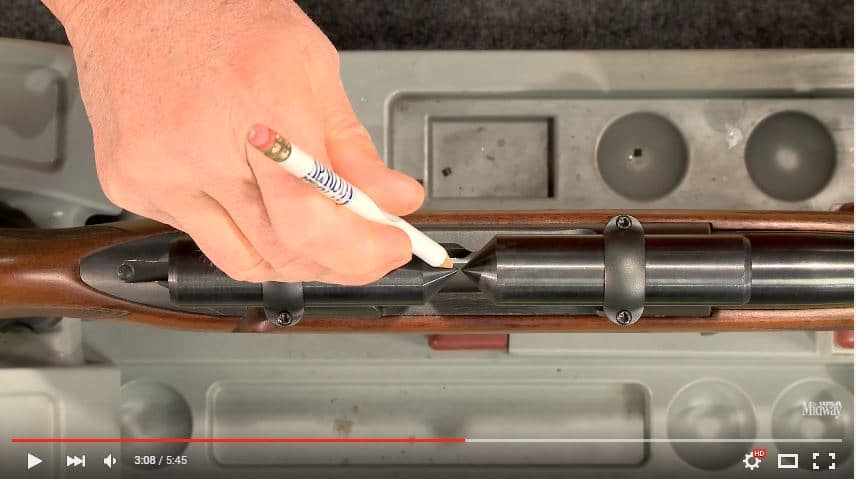
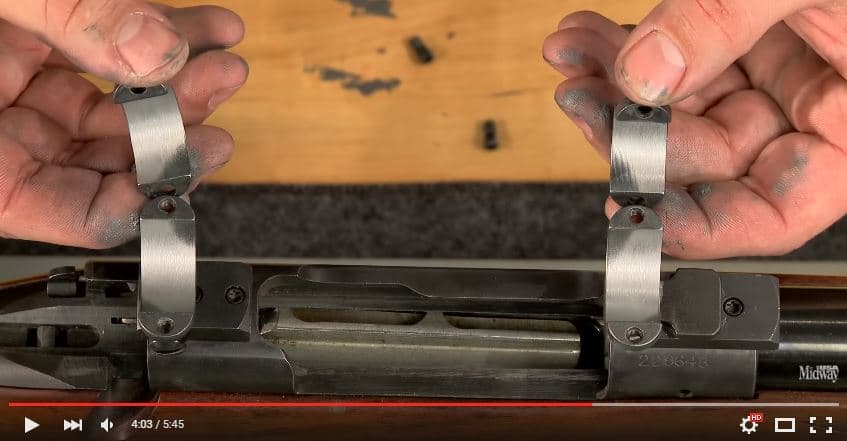
Make sure your rings fit your scope properly, both lengthwise, and allowing clearance between the barrel and the scope’s objective bell. As you can see from this picture, these rings are too far apart to allow the scope to mount properly. The rings should attach directly to the straight part of the tube.
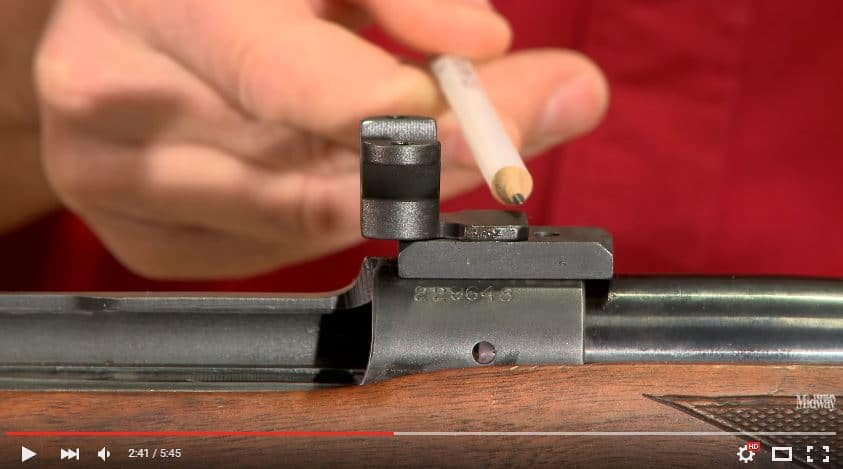
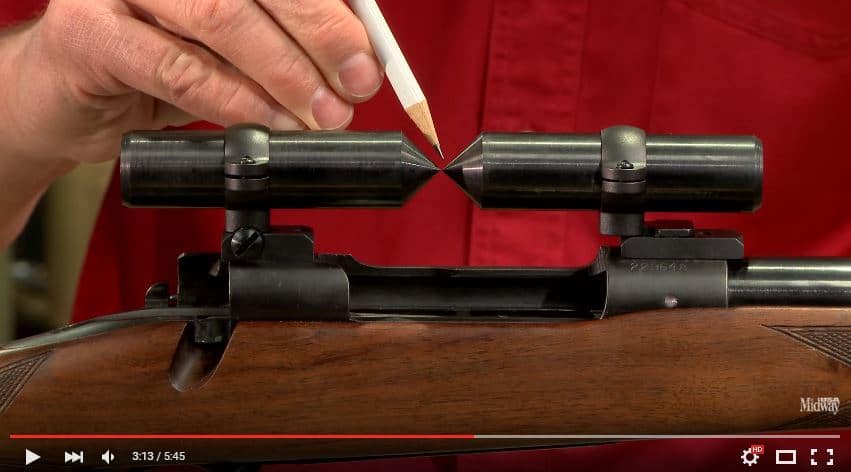
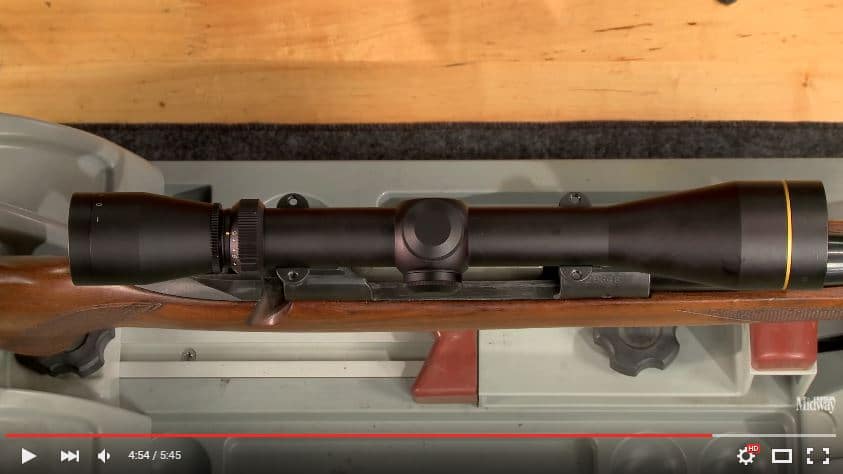
The ring from the last picture was replaced with a ring that shortens the distance between the two rings. It also taller, which raises the scope, because the objective bell had been hitting the barrel.
Once the proper rings are installed, you can see how the scope fits better, and the rings rest on the scope’s tube instead of the bevel between the tube and the objective bell.
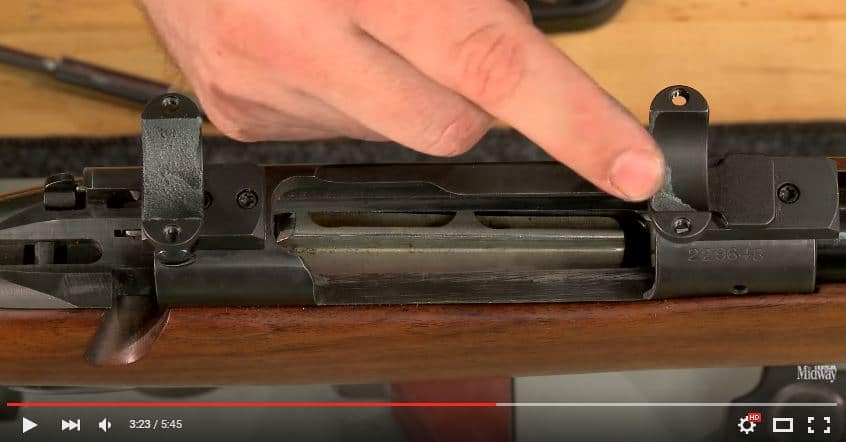
Use a scope ring alignment tool to ensure the two scope rings are properly aligned. As you can see, these rings are not.
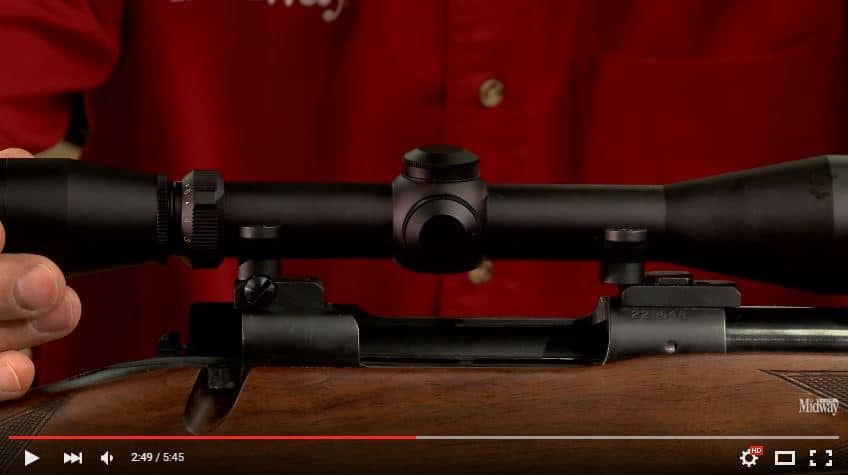
After adjusting the windage screws on the rear scope base, we now have the sights aligned horizontally.
As the scope rings are the same height, they are also aligned vertically.
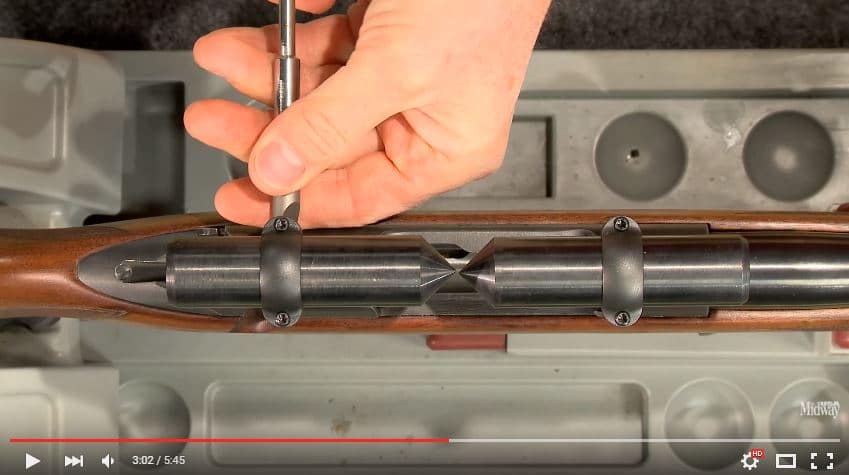
Now that the scope rings are aligned, it’s time to lap the scope rings. First we put some lapping compound on the inside of the rings.
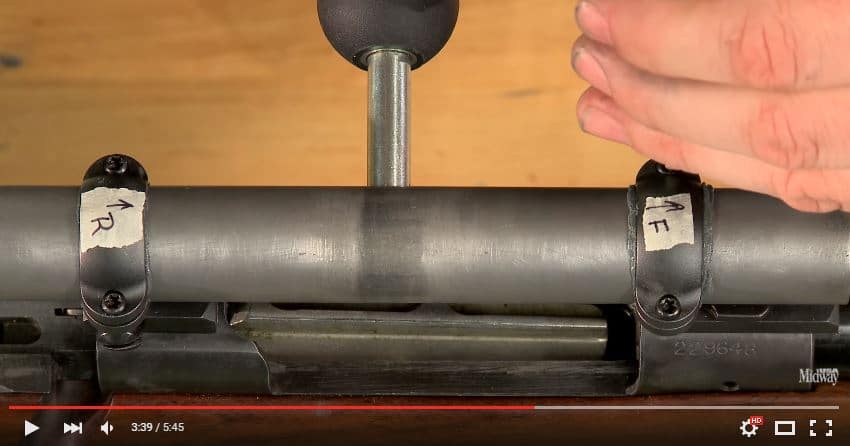
Tighten the scope rings down until they make contact with the lapping bar, but are still loose enough to allow the bar to slide. Slide the lapping bar back and forth, and tighten the rings down as you go, because lapping removes material.
Once at least ¾ of the scope rings have been lapped enough to show the raw metal, you have lapped enough to allow good contact between the rings and the scope, which helps maintain good accuracy and consistency in your scope. Be sure to remove ALL of the lapping compound prior to mounting your scope.
Once the rings have been lapped, insert the scope and tighten the rings just enough to keep the scope in place, while still allowing it to be rotated.
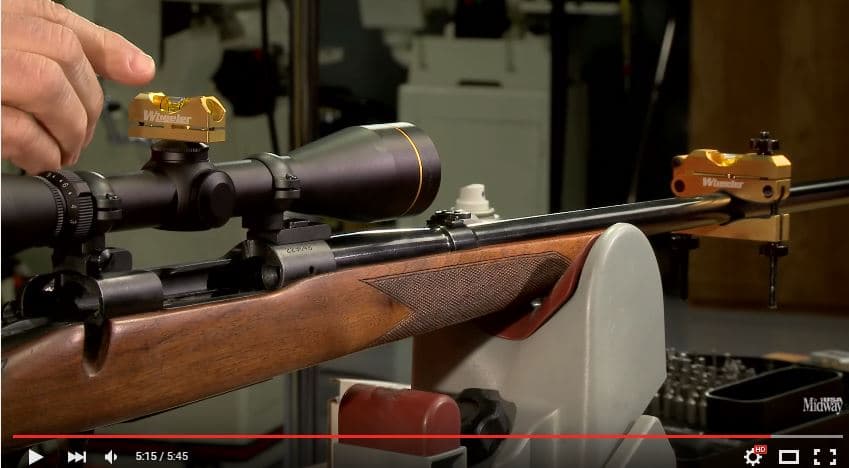
Using two bubble levels, level the barrel with the scope base. Then attach the scope, and place the bubble level that had been on the scope base on the top turret of the scope. Using this, level the scope with the barrel. This will ensure that your reticle is perfectly level.
Finally, torque the screws on the scope ring to 15 inch/pounds, which ensure you don’t accidentally crush the scope tube, but will ensures that it is attached tight enough to not shift under recoil. Now you can take the gun to the range, and get it sighted in.